Why Your Crypto Card Won’t Add to Apple Pay
Most rejections happen at one of three points: the card itself (not activated or issued yet), your Apple account (regional restriction), or the connection between the two (KYC incomplete).
Signal: If Apple Wallet shows “This card can’t be added” immediately, the issue is almost always that your card hasn’t been activated inside the crypto card issuer’s app.
Why it matters: Crypto cards sit between traditional banking and self-custody. Apple Pay requires the card issuer to send activation confirmation to Apple’s servers. Until that handshake completes, iOS won’t recognize it.
Here’s the typical sequence:
- You sign up for a crypto card (ether.fi Cash, for example).
- Virtual card generates in seconds.
- You activate it in the card issuer’s app.
- KYC (identity verification) must be fully complete.
- Only then can Apple Wallet “see” the card and let you add it.
Risk: If your KYC is still pending, adding the card to Apple Pay will fail — it’s a silent gate. The error message is usually vague (“Can’t add this card”), not “KYC is incomplete.”
Step-by-Step Fix — The Quickest Path
Follow these steps in order. Most users fix the problem at step 2 or 3.
Step 1: Activate Your Card in the Card App
Open your crypto card issuer’s mobile app (for ether.fi Cash, open the official app).
- Tap the card or “Card Management.”
- Look for “Activate Card,” “Enable for Payments,” or similar.
- Tap it. You should see confirmation within 10 seconds.
Key metric: This takes 30 seconds and fixes ~60% of “card won’t add” issues.
If you don’t see an “Activate” button, your card may already be active — skip to step 2.
Step 2: Check Your KYC Status
Go back to the issuer’s app home screen. Look for a KYC status badge (usually near your profile).
- Status: Verified → proceed to step 3.
- Status: Pending → wait or resubmit ID. Apple Pay linking fails until this shows “Verified.”
- Status: Rejected → contact support.
Signal: KYC approval typically takes 5 minutes to 24 hours. If longer, check your email for rejection reasons and resubmit if needed.
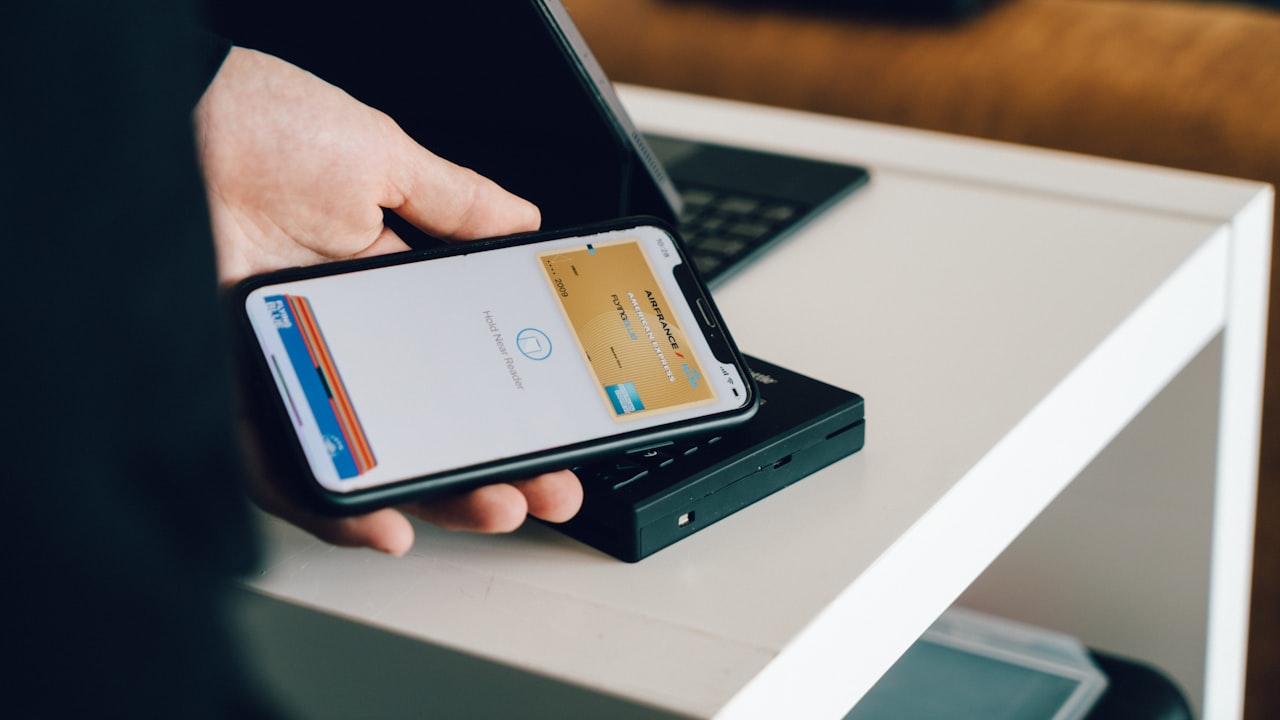
Step 3: Add to Apple Pay (iOS)
- Open the Wallet app on your iPhone.
- Tap the
+icon (top right). - Select “Debit or Credit Card.”
- Choose “Enter Card Details Manually” (or scan if supported).
- Enter the card number, expiry, CVV (from your issuer’s app).
- Follow verification steps (usually an SMS code).
- Accept terms, and the card appears in Wallet in 10–30 seconds.
Why it matters: This is the official iOS flow. Some crypto card issuers offer a direct “Add to Wallet” button in their app — if available, use that (it’s one tap).
Platform-Specific Wallets and Regional Limits
Apple Pay works differently depending on your device and region.
Apple Pay (iPhone & Apple Watch)
iOS Wallet supports crypto cards natively in most countries where the card issuer operates. However, some issuers (including ether.fi) have regional restrictions due to regulation.
Watch: Before adding to Apple Pay, confirm your country is on the ether.fi supported regions list. If your country appears prohibited, Apple Pay linking will silently fail — no error message, just “Can’t add.”
Alternative: If your country isn’t supported for Apple Pay yet, you can still:
- Spend online using the virtual card number.
- Use Google Pay or Samsung Pay if the issuer supports it.
- Pay in-store by reading the card number (revealed in the app) to the terminal.
Google Pay & Samsung Pay
Google Pay and Samsung Pay have different backend rules and regional restrictions. Some users report success adding their crypto cards to Google Pay when Apple Pay fails.
How to use crypto debit card on Android:
- Open Google Pay.
- Tap “Payment method” + “Add card.”
- Enter the card details from your issuer’s app.
- Complete verification (SMS code or in-app confirmation).
- Card appears in your Pay app within seconds.
Fixes for Cards That Keep Failing
If you’ve completed all the steps above and Apple Pay still rejects your card, try these.
Restart iOS and the Card App
Force-close both Wallet and the issuer’s app:
- Swipe up from bottom (iPhone X+) or double-tap home (older models).
- Swipe up on the Wallet app to close it.
- Restart your phone (power off, 10 seconds, power on).
- Open the issuer’s app and confirm card status.
- Try adding to Apple Pay again.
Update iOS and the Card App
Outdated versions of either Wallet or the card issuer’s app can cause silent failures. Check the App Store for pending updates.
Verify Card Isn’t Locked
Open the card issuer’s app and check if the card is locked for security. Many apps lock cards after failed payment attempts. Unlock it if needed and retry.
Check for Spending Limits
Some crypto cards cap Apple Pay transactions lower than in-store spending. Confirm your transaction limit isn’t zero. If it is, raise it in the issuer’s settings.
Signal: If none of these fix it, your card issuer’s backend may be experiencing an outage or your account may have a hidden flag (e.g., address not yet fully verified). Contact support with a screenshot of the error.
How to Spend Crypto Without Selling (and Why Apple Pay Helps)
The whole point of a crypto debit card is to spend directly from your crypto holdings without selling. Here’s how it works:
When you add your crypto card to Apple Pay, you get a seamless spending experience:
- Tap your phone at a payment terminal.
- The transaction settles in fiat (USD, EUR, etc.), handled by the card network.
- Your crypto balance is debited behind the scenes.
- You keep full custody of the remaining balance on-chain (if the card is non-custodial).
Why it matters: This is fundamentally different from cashing out on an exchange. You retain self-custody; the card is just a spending gateway.
ether.fi Cash lets you earn yield while spending — your staked ETH keeps accruing rewards even while the card balance is active. That’s the unique edge of non-custodial crypto cards.
Many users ask: can I actually spend crypto without selling? With a crypto debit card linked to Apple Pay, the answer is yes. No exchange, no tax event per transaction, no intermediary holding your funds. You control the private keys; the card is a spend-from-custody layer.
Risk & Disclosure
DefyCard publishes affiliate-linked reviews; we may earn a commission when you sign up through our links. Cryptocurrency is volatile — the fiat value of your crypto balance can change dramatically. Crypto-asset cards are not FDIC insured. Never add more crypto to a card than you’re willing to spend or lose to price volatility. Always confirm your country is on the card issuer’s eligibility list before applying — some regions restrict or prohibit access. This guide is educational, not financial or legal advice. Consult a tax professional before using a crypto card in high-tax jurisdictions.